Welcome, NetSuite clients
Track1099 is pleased to be NetSuite's 1099 e-file partner
NetSuite's Track1099 Bundle
The 1099-NEC and 1099-MISC may pose a few challenges this year. Please reach out to us with any questions.
Please find us on our SuiteApp.com listing.
-
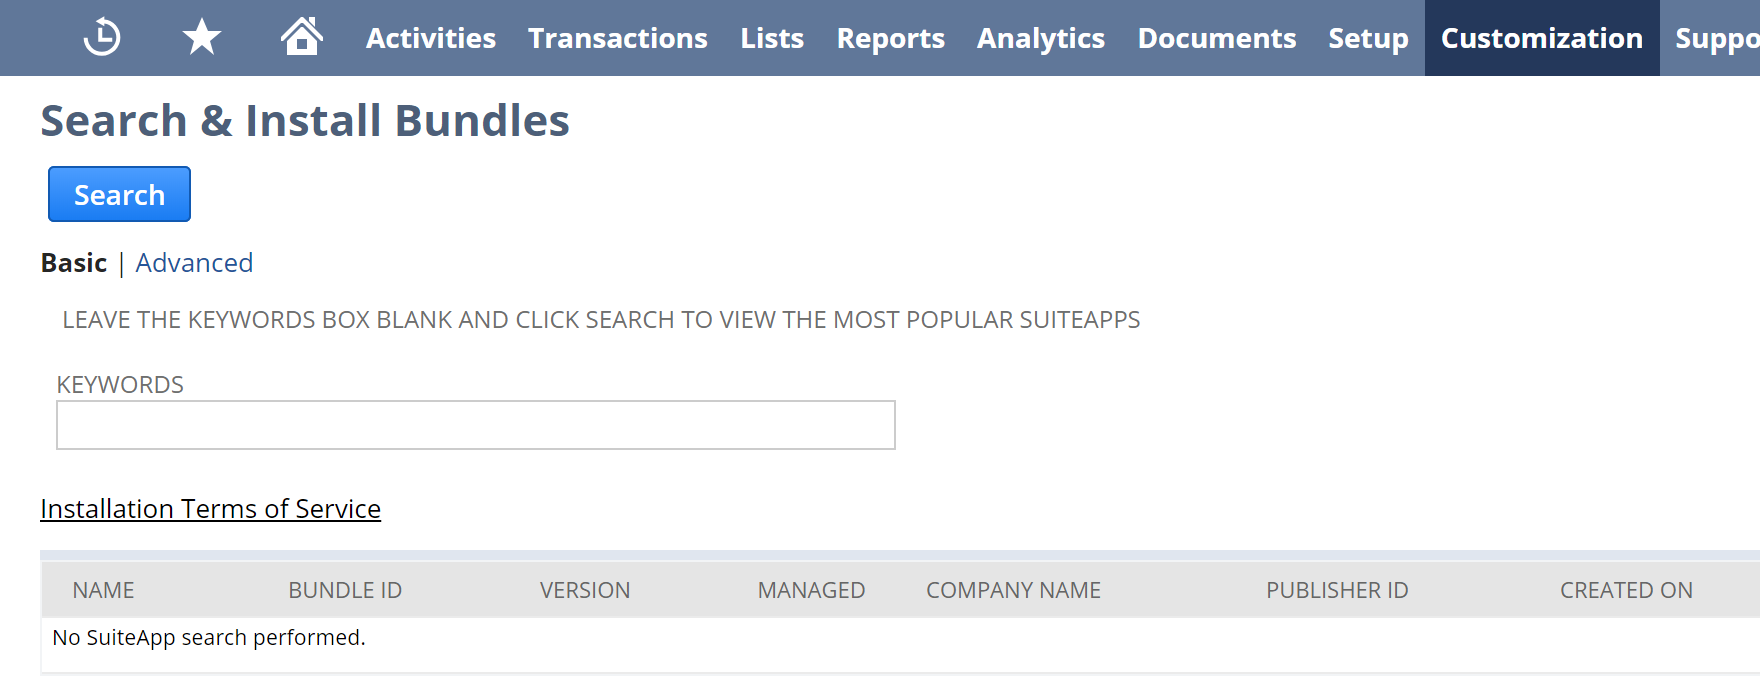
Login to NetSuite, select your company, then go to Customization > SuiteBuilder > Search & Install Bundles. Do not select List.
-
In the Keywords field, enter Track1099 and click Search.
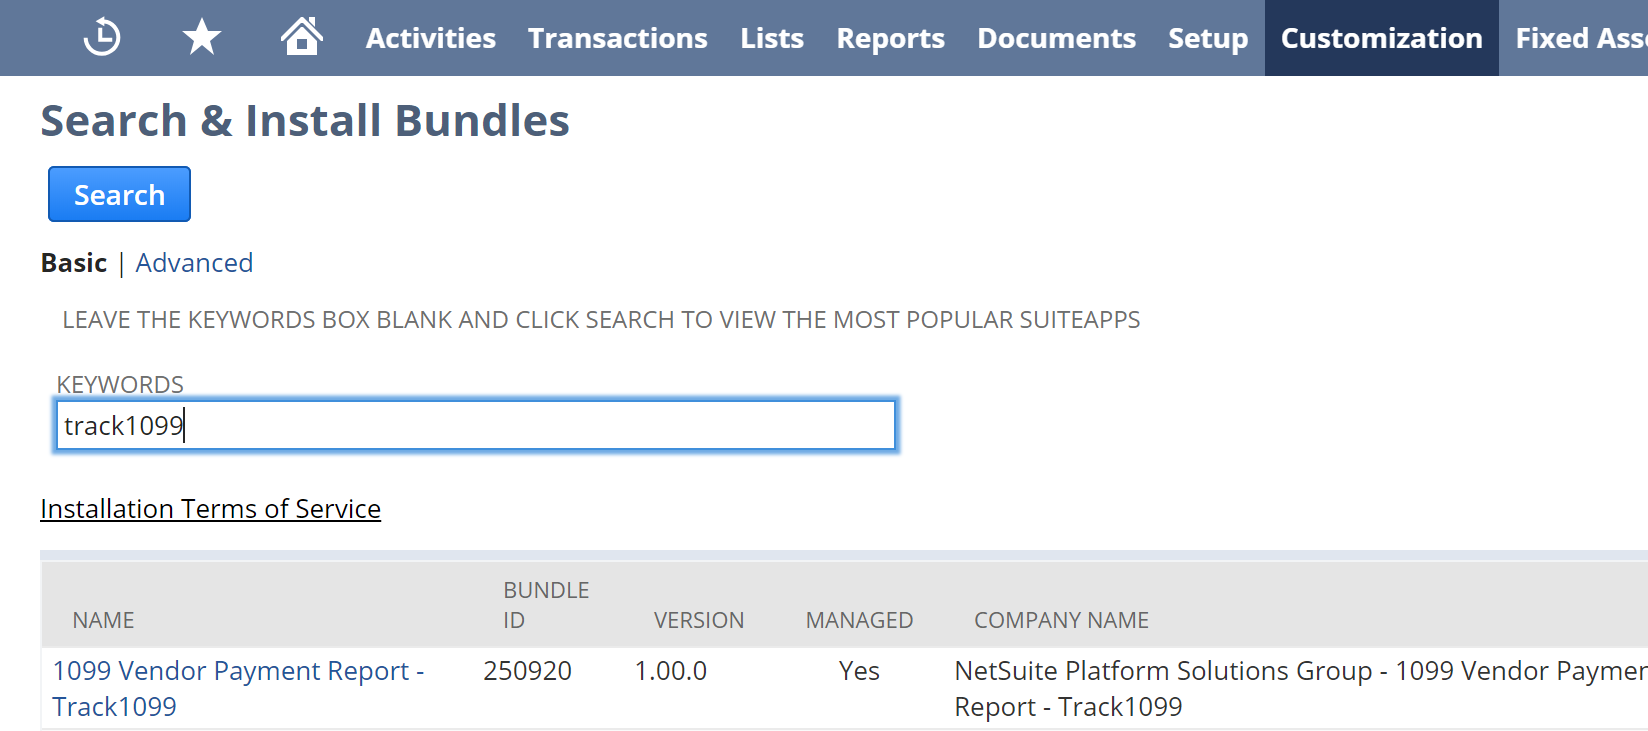
Click the 1099 Vendor Payment Report - Track1099 link.
You can also use any of our competitors' bundles, such as Sovos or Yearli, to create a CSV file and then cut and paste from that into our CSV template.
-
On the Bundle Details page, click Install.

-
On the Preview Bundle Install page, click Install Bundle.

-
In the popup, click OK.

-
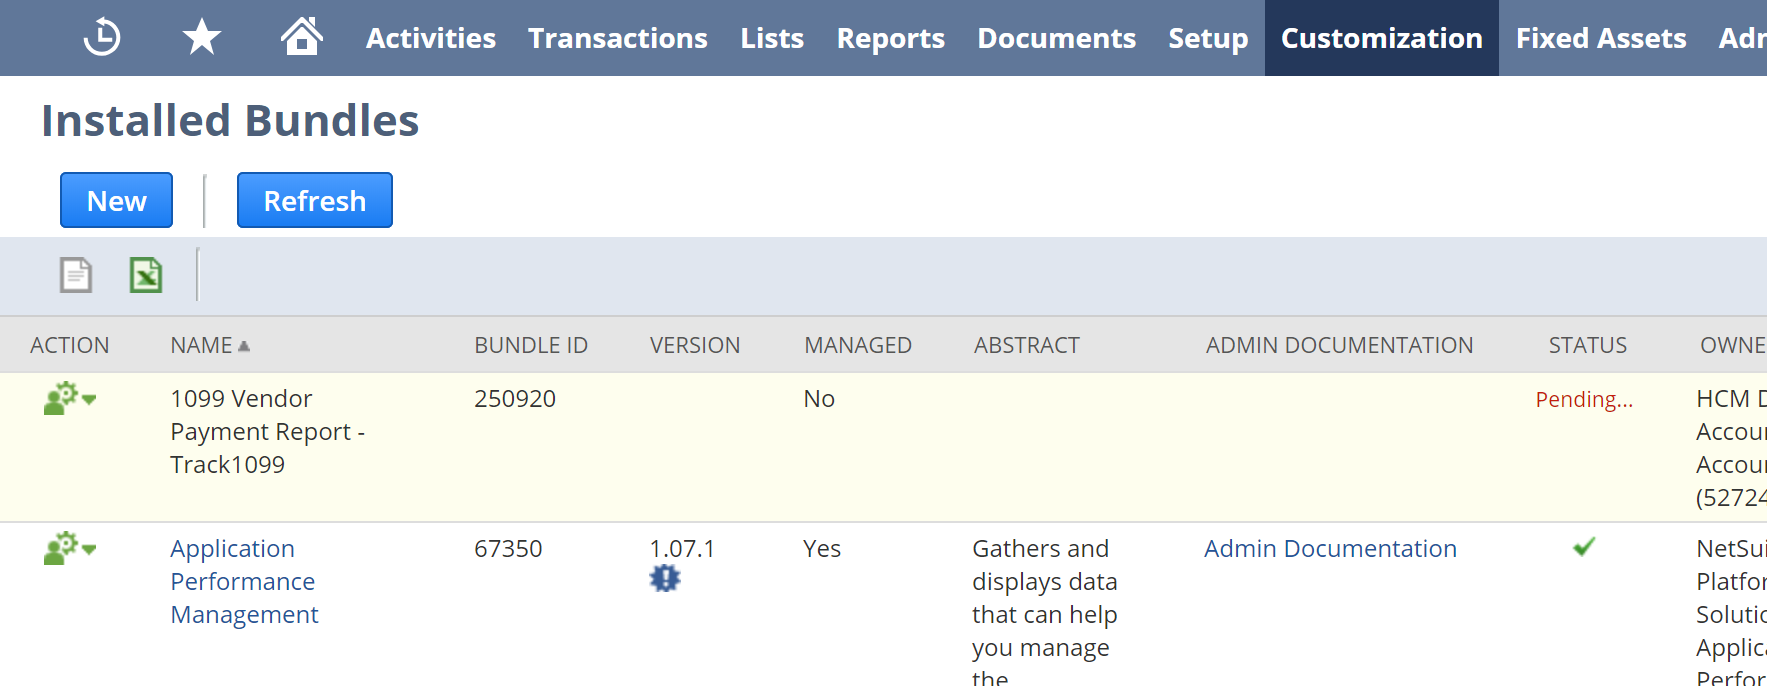
Wait for the bundle to be installed. The Status of the bundle will change from Pending... to a check mark. Click Refresh to see the latest Status.
-
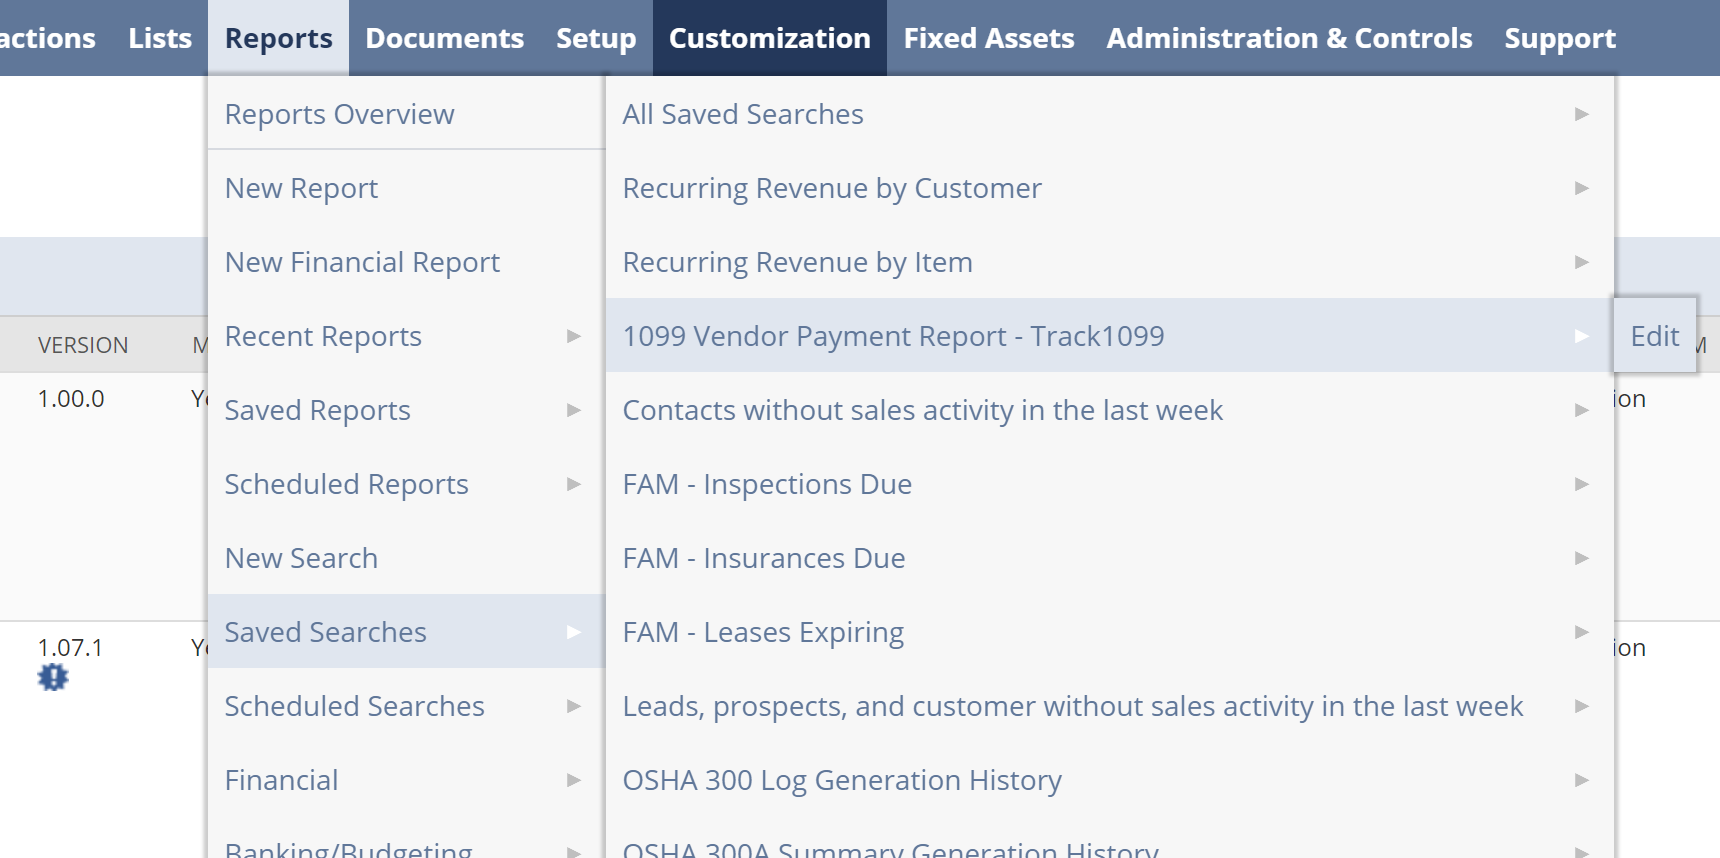
Go to Reports > Saved Searches > 1099 Vendor Payment Report - Track1099 > Edit.
-
Select the Criteria sub tab and make changes as needed.
-
Then, select the Results sub tab and make sure your vendor fields are as desired.
-
(OPTIONAL) If necessary to use a specific vendor address, for example Billing Address:
-
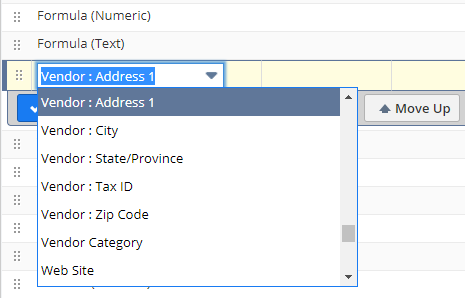
Select the Vendor : Address 1 list.
-
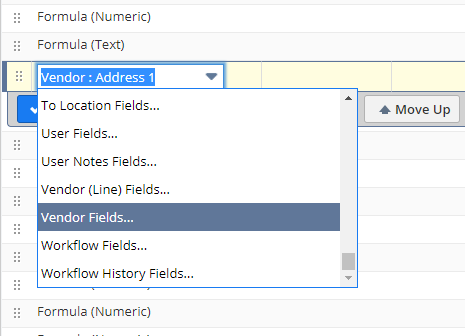
Scroll down the dropdown list and choose Vendor Fields...
-
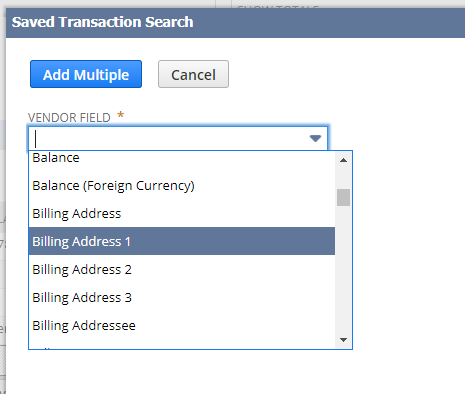
In the Saved Transaction Search popup window, select Billing Address 1 from the Vendor Field list.
-
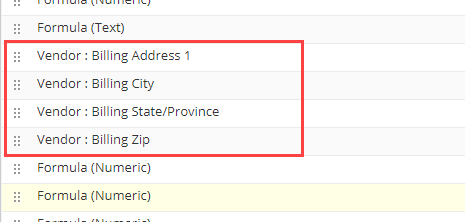
Repeat steps A, B and C for Vendor : City, Vendor : State/Province and Vendor : Zip Code, replacing them with Vendor : Billing City, Vendor : Billing State/Province and Vendor : Billing Zip, respectively.
-
-
If you've made any changes to the report, enter a new report name in the Search Title box and click Save As.
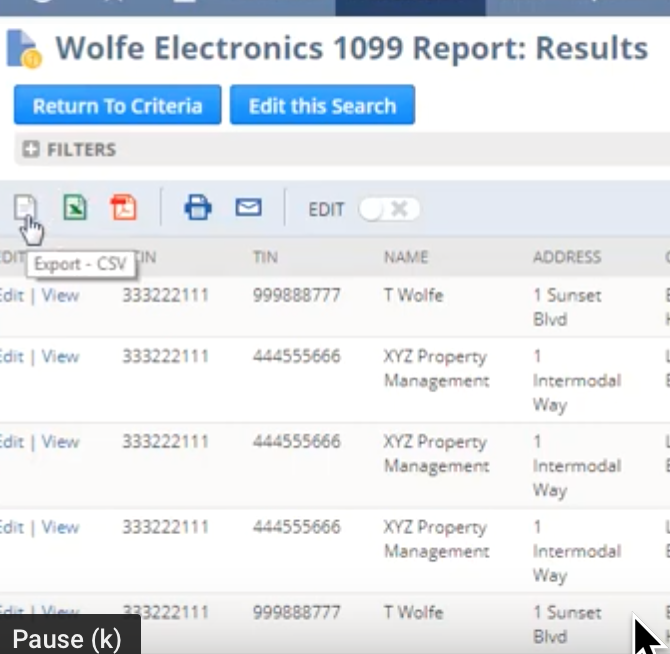
Click Save & Run and review the results of the report.
Export and download the CSV using the Export-CSV icon in the upper left.
Open the CSV in your favorite spreadsheet and edit.
Delete the word "- None –" in all cells or replace with correct information.
Delete all entries in the Foreign City/State/Zip column, including "USA", if you do not have a foreign address. Do not delete the column itself.
Delete the very last line that has the Totals listed.
Review all other data for accuracy, then Save and Export as a CSV file. You can them import into Track1099.
Because of the new 1099-NEC and 1099-MISC forms, you may need to download our templates and then cut and paste the appropriate columns from your NS CSV into either our 1099-NEC or 1099-MISC CSV templates.
See our CSV import process.